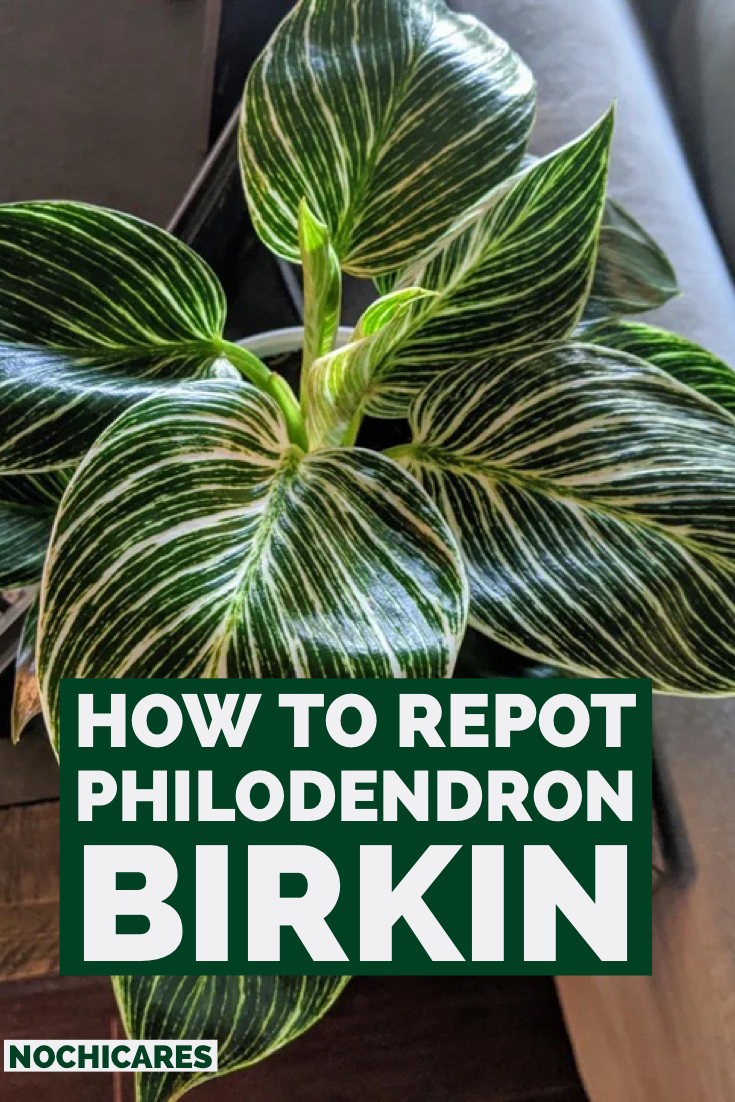
How To Repot Philodendron Birkin
Repotting a philodendron birkin takes care and precision. You must carefully transport it to a slightly bigger pot every year. The soil must also be light, and you must keep watering to a minimum.

Updated May 2022.
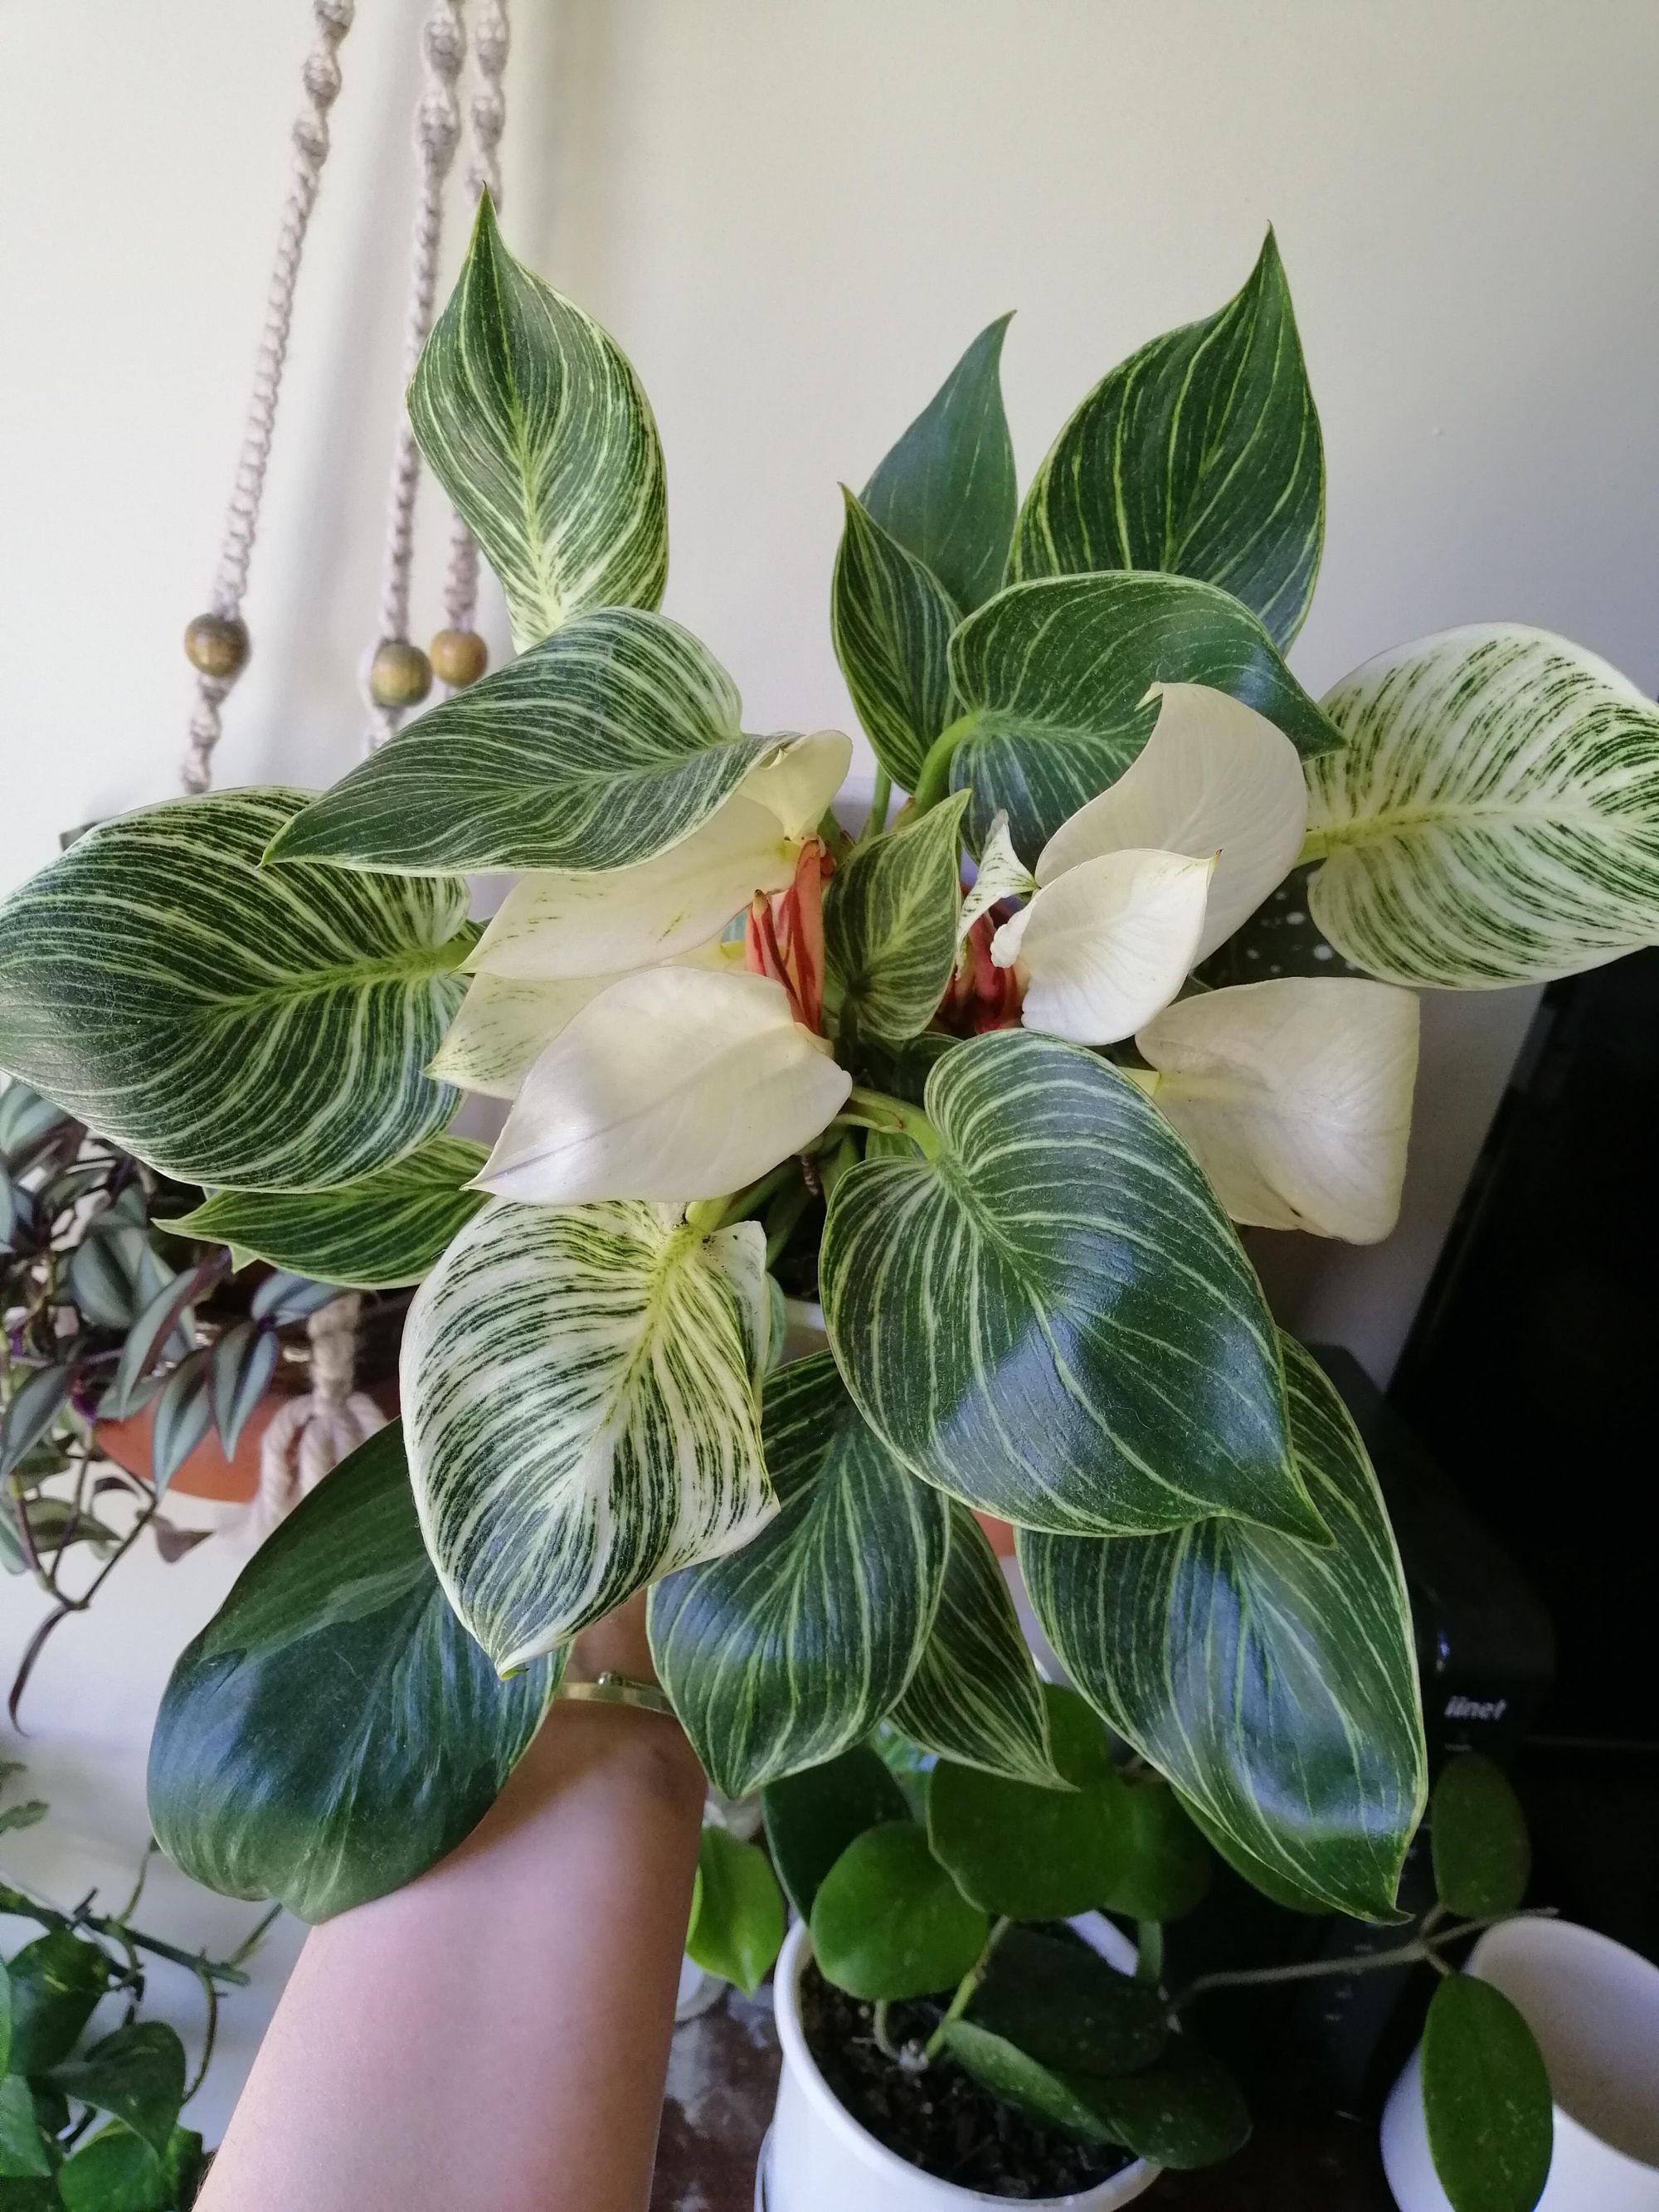
Of all the plants in the Araceae family, the philodendron birkin is the most sought-after. Its glossy green leaves and signature white streaks allow it to captivate any room in your house. It is the ultimate cult classic house plant.
Repotting a philodendron birkin takes care and precision. You must carefully transport it to a slightly bigger pot every year. The soil must also be light, and you must keep watering to a minimum.
You must repot your philodendron once a year to keep on top of its growth rate. This article will explain how to repot step-by-step so that you can do this successfully each time.
1. Set up the new pot
To repot a philodendron, you need to set up the new pot first so that the transfer can run smoothly. Like any plant, you need to minimize the amount of time it is out of the soil.
Start by covering up the pot’s drainage holes with porous paper. The paper allows for water to drain out without losing any soil.
Next, add sufficient soil to cover the pot’s base, with enough depth for the philodendron birkin’s roots to thrive in.
2. Lightly water the philodendron birkin
When repotting your philodendron birkin, it’s a good idea to give the plant some water. Watering will help keep the root structurally together, as well as minimize the risk of the philodendron drying out during the transfer.
3. Remove the philodendron birkin
Remove the plant with the utmost care and precision when repotting.
The best way to remove the philodendron birkin safely is to turn the pot upside down and, holding the base of the philodendron, gently wiggle the pot from the plant. Let the weight of roots do the work and avoid pulling on the plant.
If your philodendron has been in the same pot for over a year, you may need a knife, or some other form of garden tool, to help gently slide the plant out.
Birkin wouldn’t be the nation’s trendiest houseplant without its striking features, so do not ruin these by mishandling it. To maintain the plant’s elegance, you need to be extra delicate with it during the removal.
4. Inspect the roots
Loosen the soil to inspect the roots before repotting a philodendron birkin. If the roots are a dark shade of brown, or if the bottom of the plant has a mushy texture, this is a sign of rotting. You should cut off the rotting roots.
Repotting is not only healthy for the plant's growth, but it’s also a good time to properly inspect the roots to see how the plant’s reacting to the soil and water level.
5. Repot the philodendron birkin
Gently place the philodendron into the new pot. Holding the plant, fill around the edges with soil until it can stand freely. Then continue to fill with soil until you reach the average soil level.
Once filled, gently pat down the soil for neatness. However, do not add too much pressure to the pats, as this can cause the plant to suffocate. You want to give the philodendron enough room to breathe and absorb water.
That’s how you repot a philodendron birkin.
But here are some things you need to keep in mind for successful growth after repotting your birkin.
7 tips for repotting your philodendron birkin
1. Choose the right pot
The new container must be bigger than the one it’s in at the time of repotting. You should select a pot that is 1-2 inches bigger to repot a philodendron birkin successfully. Do not go over 2 inches, however, as this will be too big for the plant.
Given that the philodendron birkin is perpetually in a growth state, you need to provide it with sufficient space each time to stretch out and grow successfully.
However, if you give the plant too big a pot, you risk over-watering it. A bigger pot means there will be more moisture in the soil. If the pot is over two inches bigger than the last pot, there will be too much moisture for your plant to absorb.
Overwatering ruins the plant's vibrancy and striking look. It will cause the leaves to yellow and form mold.
A philodendron birkin should only be watered once per week.
2. Choose the right soil
Choose a soil that drains water fast to repot a philodendron birkin successfully. It’s best if the soil contains sphagnum moss and perlite.
Perlite is useful as it keeps the soil moisturized, which keeps the philodendron hydrated. Sphagnum moss is also helpful as it drains out any excess water, minimizing the risk of overwatering the plant.
Alternatively, you could select regular soil and add perlite at a ratio of 3:1.
3. Fertilize the plant well
Before and after you repot the philodendron, feed it fertilizer once a month to keep the plant healthy. The best way to feed a philodendron is to add liquid fertilizer to its water once a month. The plant likes to drink water and will absorb the fertilizer as if it were water, too.
Philodendron birkin requires a lot of energy to grow at the rate it’s supposed to.
If you notice that the leaves are not fully developing, it could be down to a lack of regular fertilizer.
4. Inspect to plant to judge whether it needs repotting
Only repot a philodendron when it looks like it needs it. Although you should aim to repot birkin once every 24 months, wait until it shows signs of slow growth or yellowed leaves.
Slow growth suggests that your plant no longer has enough room to grow. You want to avoid this plant becoming root bound, meaning it bases its root shape around the mold of the pot. This kind of containment is not healthy for the plant.
Give these roots more wiggle room by repotting the plant in a more suitably sized pot.If you notice yellowed leaves on your philodendron birkin, the plant is either over hydrated or dehydrated.
Regardless of the issue, the best thing to do is repot philodendron birkin with sufficient sphagnum moss, perlite, and pot space.
5. Keep it around other plants after repotting
Keep the atmosphere humid for your philodendron birkin after repotting by surrounding it with other plants. Philodendrons need humidity to thrive. Through evapotranspiration, plants keep the air around them naturally moist.
While keeping the philodendron around other plants helps, you must maintain an overall temperature in the room between 60 and 75 degrees Fahrenheit.
The plant is extra fragile after it has been repotted, so you should endeavor to keep it at the right temperature.
6. Get the lighting right
Keep your philodendron birkin in bright indirect light before, during, and after the repotting process. Consider where the sun rises and sets, and place your plant next to a window that provides the least amount of direct sunlight. Being tropical plants, they thrive mostly in sunlight. However, if the sunlight is direct, it can harm them.
It’s important to keep the room light but muted. Imagine that you are placing this plant in the bottom of a tropical forest. You’ve got to account for the canopy that would shade out the plant’s view of the sun.
You need to recreate a tropical forest light as accurately as possible so that your plant can thrive. Another cause of rotting leaves is too much direct sunlight.
7. You can divide the plant while repotting
If you want to grow two separate philodendron birkin plants, split the plant in two while repotting. Simply divide the root evenly, and put the smaller plants into two separate pots.
For this, you’ll need two standard-sized pots soiled and ready. If this is your first time repotting the mother plant, you could even use the pot you took it out from and another one of the same size.
Given that the philodendron birkin is constantly growing, splitting it allows you to keep the plants at a reasonable size and grants you more of the same rare plant.
For visual learners, here is a video that demonstrates how to repot a Philodendron Birkin plant
Conclusion
It is easy to repot a philodendron birkin, as long as you treat it with the carefulness it deserves. The main things to remember are to water it beforehand, handle it gently, and maintain the humidity and sunlight required to thrive.
Get a new pot that is 1-2 inches bigger than the previous pot and fill it with soil that contains both sphagnum moss and perlite.
You should also prepare the new pot beforehand so that the transfer runs smoothly. Do this by filling the pot with sufficient soil and by covering the hole in the base.