How To Make Your Own Pothos Moss Pole

Pothos plants are one of the simplest houseplants to maintain. They may even grow in low-light environments and only require watering once a week. You can grow the plant with the stems dangling down from the pot or grow-basket. Some people also prefer to snip the stems to keep them from getting too long.
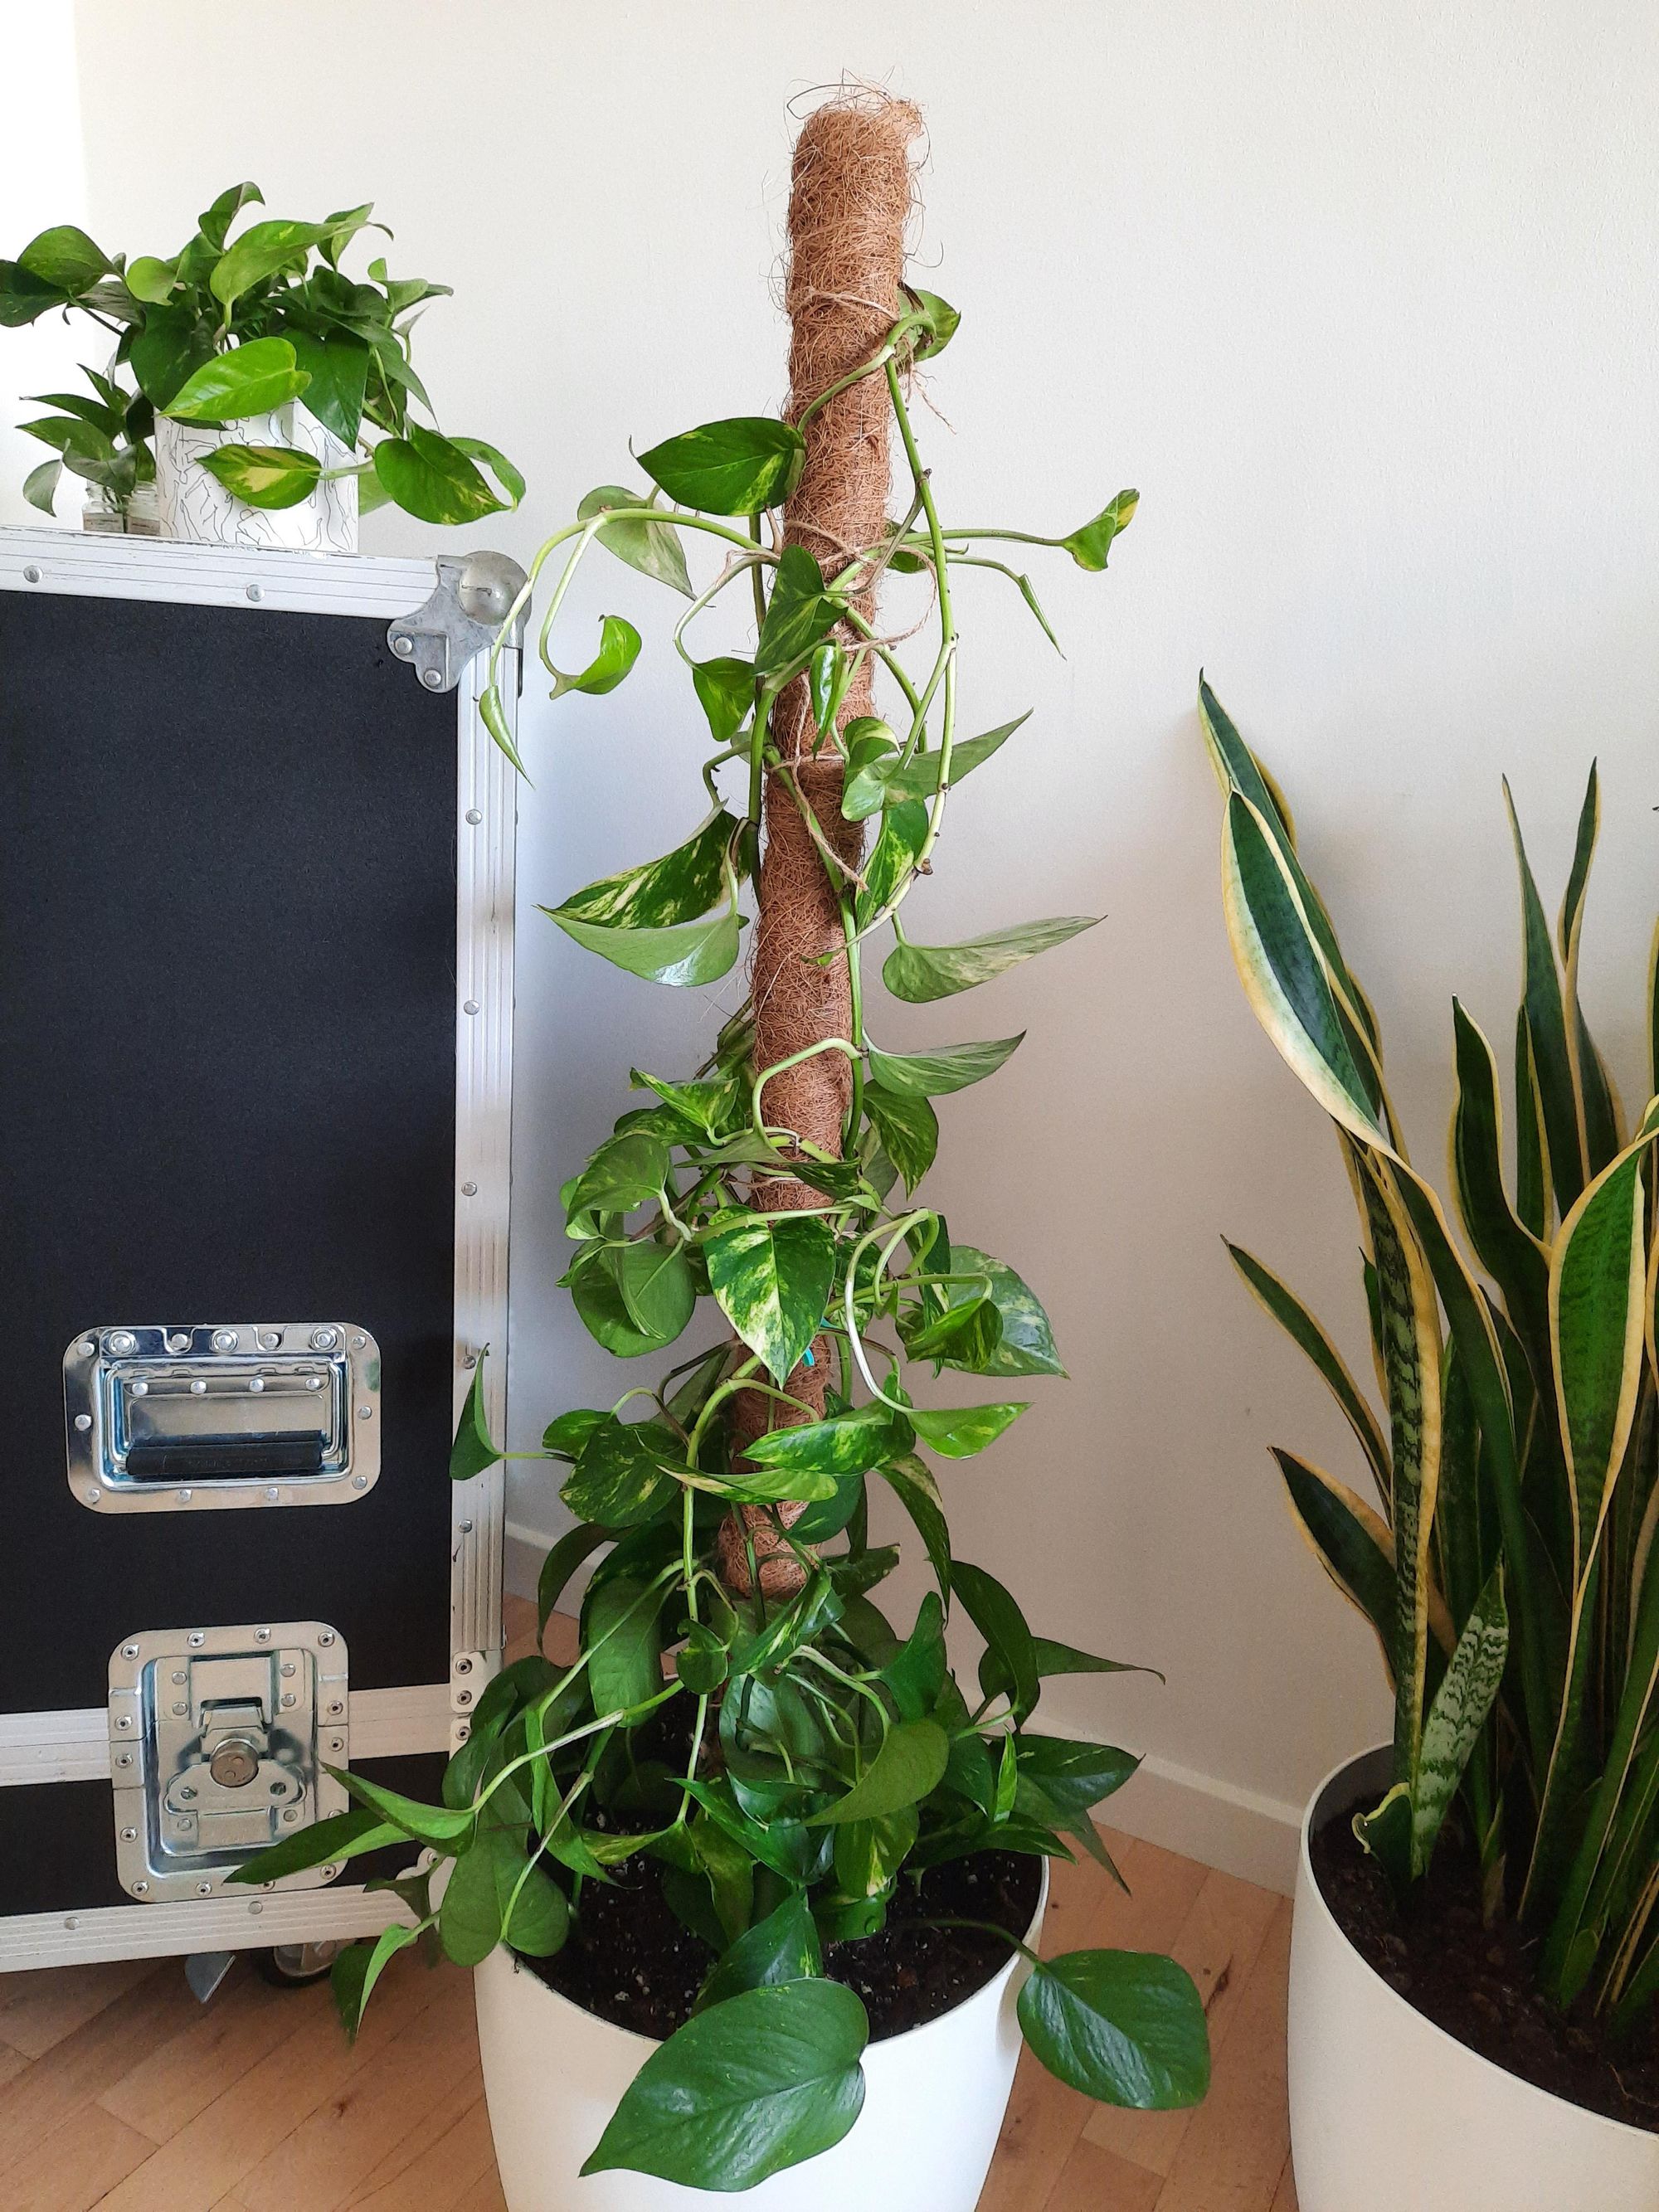
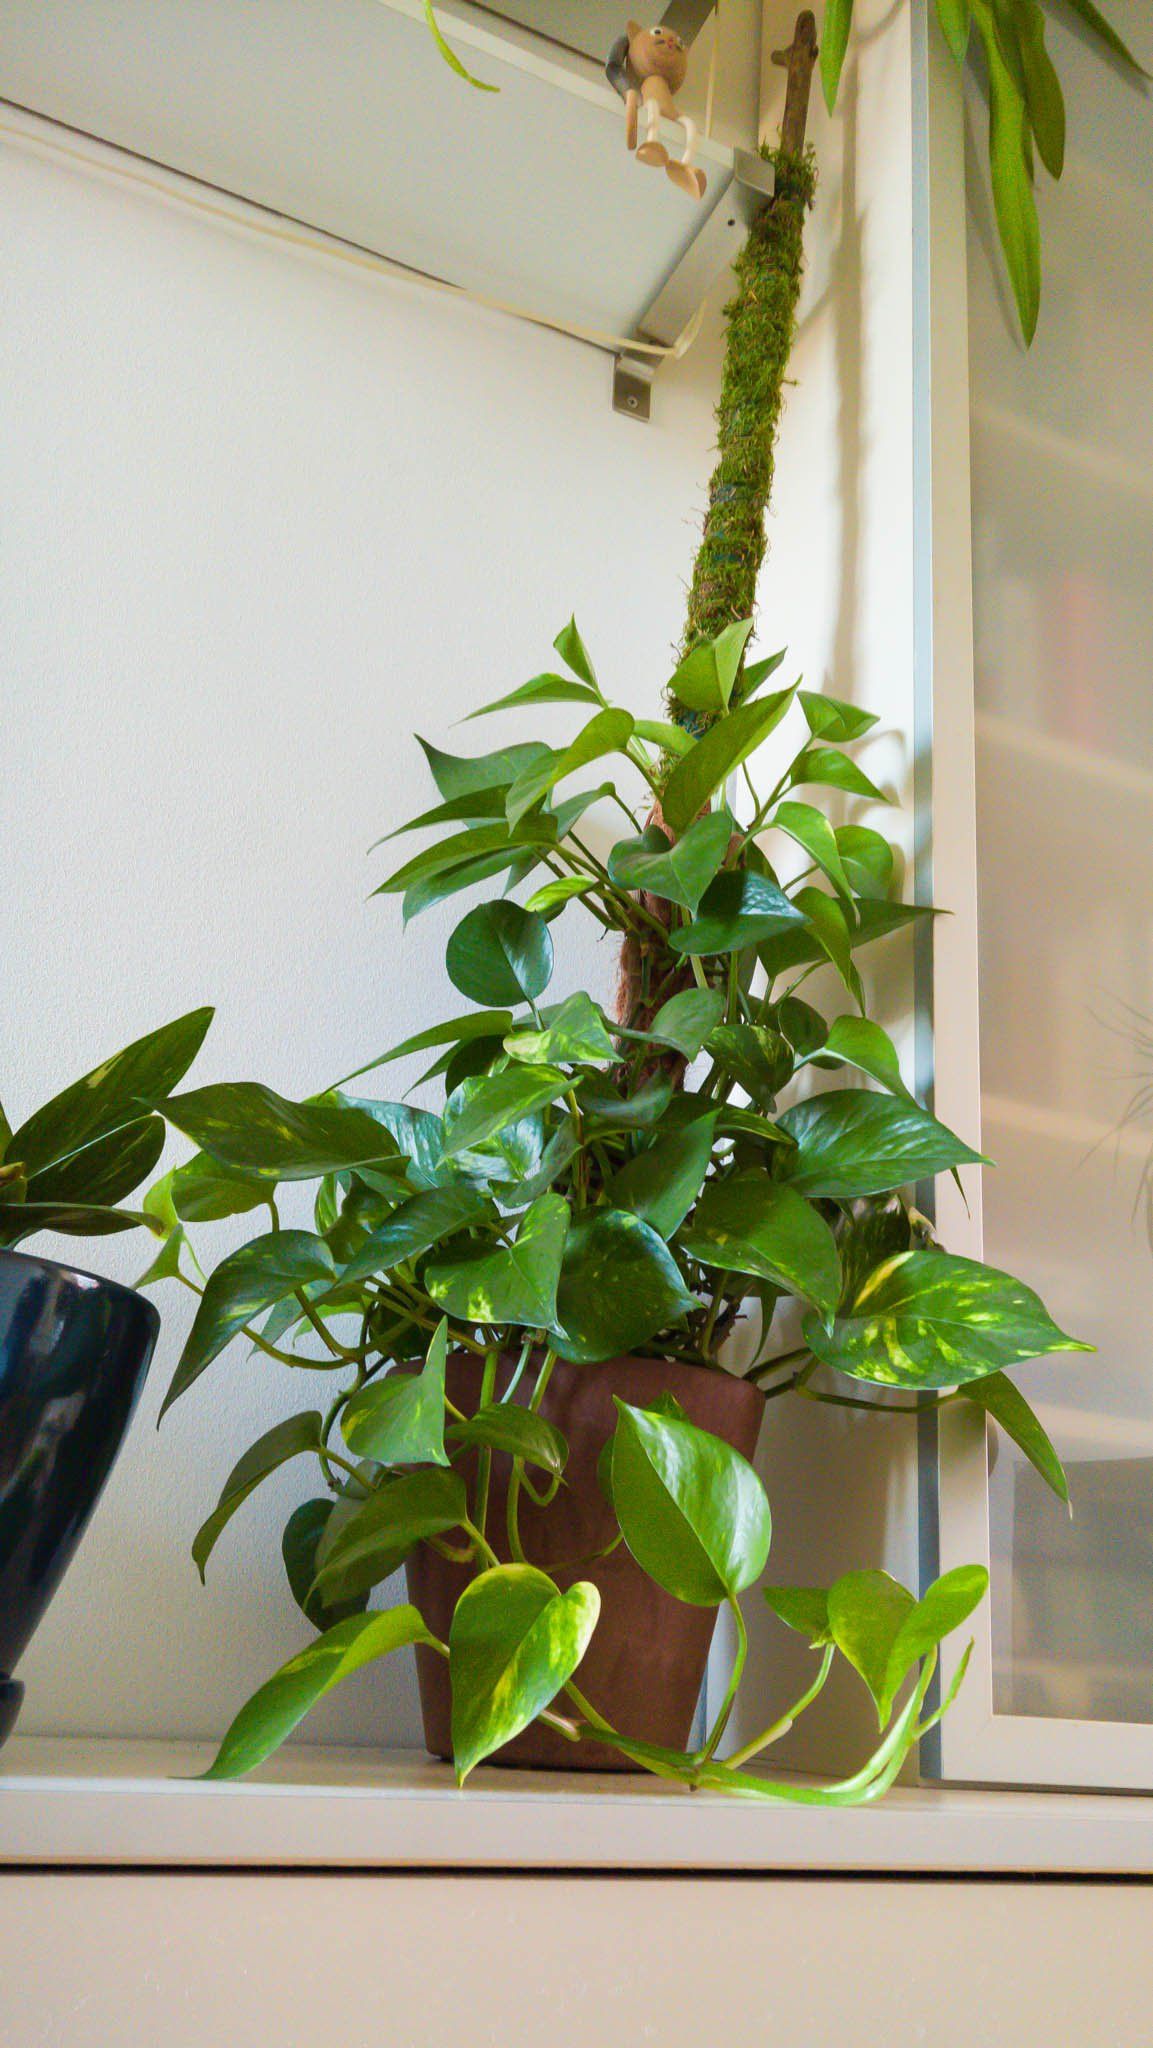
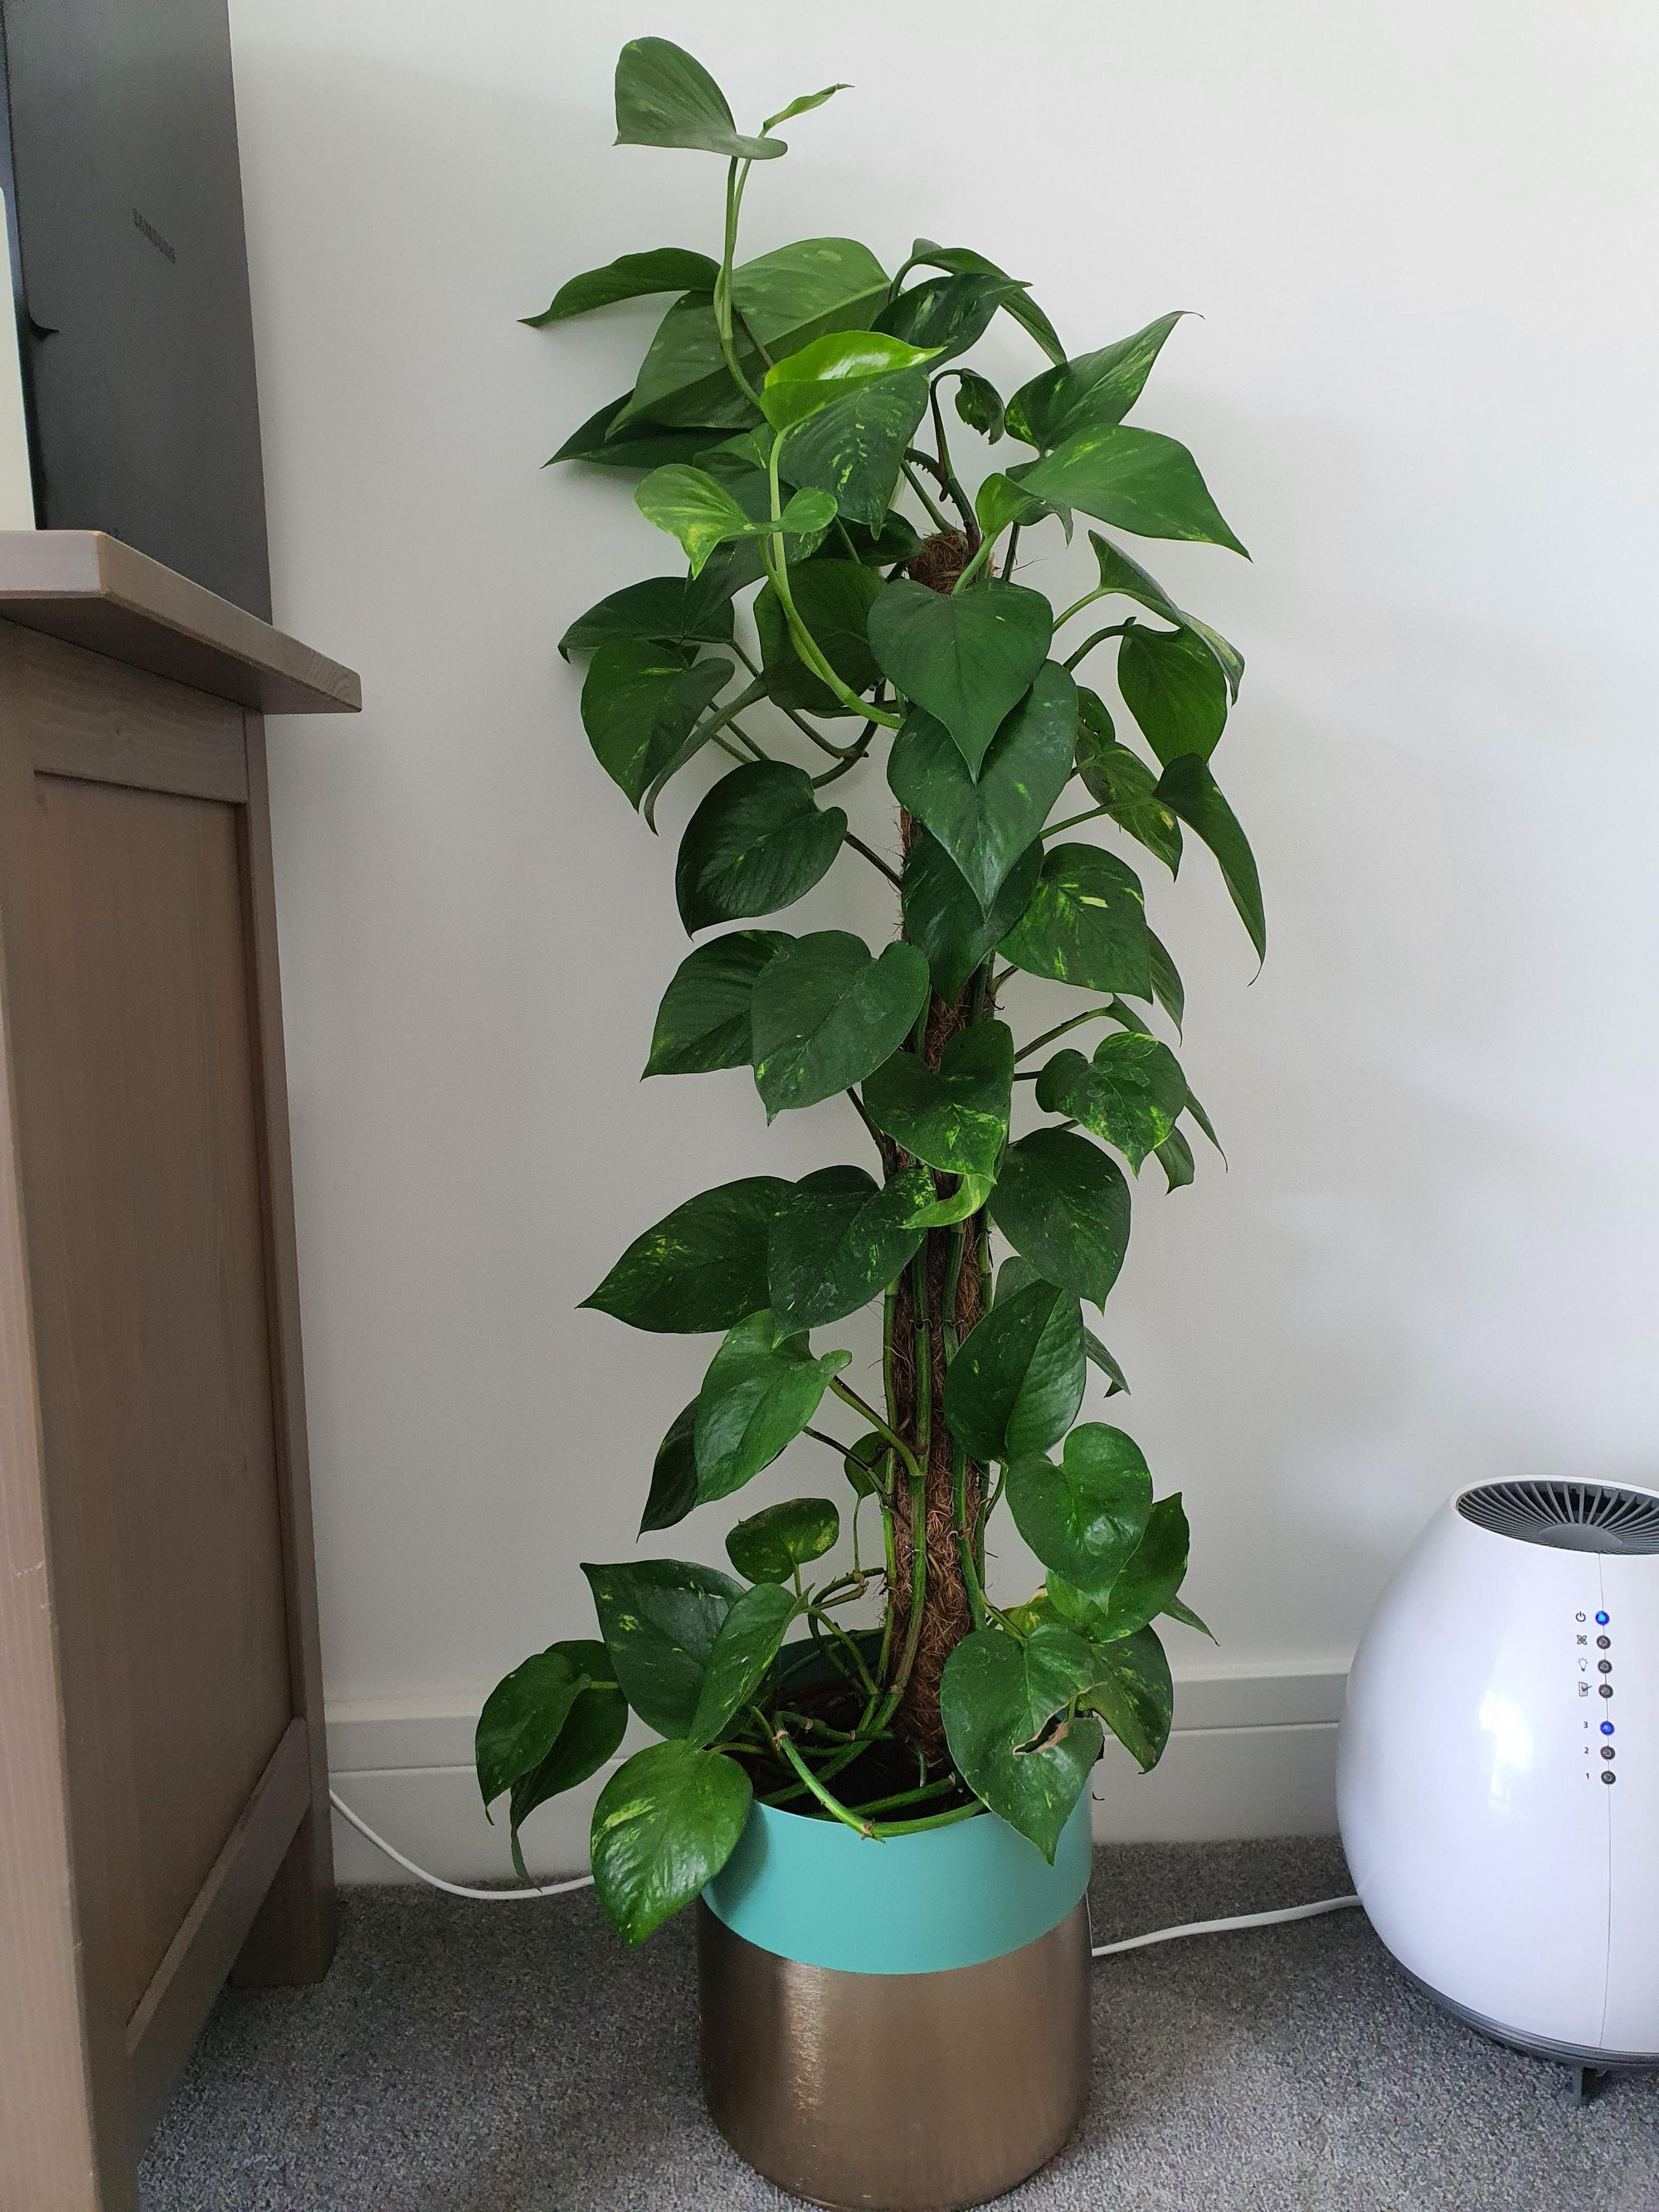
But perhaps the best way to grow a Pothos plant is to allow it to grow upwards, pivoted on a pole. This is how they grow in their natural environment. They climb up on trees, digging their roots into them in search of light.
To help your houseplant grow like this, you could purchase a moss pole. However, these are typically quite expensive and you may not be satisfied with the quality you’ll find on the market. The alternative is to make your own grow pole. In this article, we’ll explain two simple methods to make a DIY grow pole that the aerial roots of your pothos plant can grow into
Making A DIY Pothos Moss Pole With PVC Pole and Sheet Moss
This first method involves making a moss pole with a PVC pipe and a roll of sheet moss of coco liner. The supplies you’ll need for this project include:
- PVC pipe (You can use a 3″ diameter pipe, with a length of about 5′)
- Sharpie or marker
- Scissors
- Roll of sheet moss or coco liner
- Hot glue + glue gun
- Staple gun
- Twine or fishing line
Step 1- Make markings on the pipe
To start, stick the PVC pipe into a grow pot and use a sharpie to mark how deep it’ll go into the soil. The rest of the pipe that isn’t under the soil will be wrapped in sheet moss.
Step 2 - Cut the sheet moss
Remove the pipe from the pot and lay it onto the roll of sheet moss. Mark how much of these you need to wrap around the pole, then use the scissors to cut it out.
Step 3 - Attach the Liner to the pole
Use the hot glue and staples to attach the sheet moss to your PVC pole. You can start with the staples-stapling about every 4 inches of the pole. You may have to apply some pressure to ensure the stable enters into the plastic pipe and not just the moss. Afterward, you can tighten the gap with the hot glue until it is fully secure.
Step 4: Insert the pole in the pot
When you're done attaching the sheet moss, insert the bare portion of the PCV pipe into the pot and fill it with the potting mix. You can also add some pebbles to the mix for more drainage. Use your hand to compact the soil close to the pole to secure it in place.
Step 5 - Add the Pothos plants and train them.
When the pole is secured in place, you can now proceed to plant your pothos plant in the soil. Choose longer strands that can be easily wrapped around the pole. You can also tie the strands of twine to the pole as gently as possible. This will help hold them in place until they develop aerial roots to attach to the moss securely. If the strands reach the top of the pole, you can either wind them back on the pole or snip them off.
Making a DIY Pothos Moss Pole With Hardwire Mesh And Sphagnum
For this method, your pole is made from PVC-coated hardware mesh filled with sphagnum moss. The following are some of the materials you’ll need for this type of moss pole.
- 1/2" 19 gauge PVC coated hardware mesh (it can by any size you find but 3 ft x 5 ft or 2 ft x 5 ft is recommended)
- Plastic Coated Wire Twist
- Wire Cutter or a pair of scissors
- Sphagnum Moss
Step 1: Soak Sphagnum moss in water
The size of your pipe will determine the amount of moss you’ll need. Soak the moss in water for about 2 minutes in a plastic tray. Use your hands to swish the moss around to ensure everything gets wet. Set the moist sphagnum moss aside while you continue with the rest of your project.
Step 2- Bend the hardwire mesh to form a cylinder
Fold the hardwire mesh into a cylinder. This can be as big or as small as you want it to be. Of course, the bigger diameter is easier to form with your hands. If you use a 1/2" x 2ft x 5ft 19 gauge PVC, the pole should be about 2 feet in height when you’re done
Step 3: Cut the wire mesh and form an open cylinder
Using the scissors or wire cutters, cut the piece of the mesh you intend to use for the pole. Next, fold this into an open cylinder, leaving enough room for you to add your sphagnum moss.
Step 5: Fill the cylinder the sphagnum moss
Squeeze water out of your sphagnum moss and start filling it into the hardwire mesh cylinder that you have made. Add a sufficient amount of moss into the cylinder. This way, the pole is snug when you finally close up the cylinder. This also ensures that the pole remains tight as the moss degrades over time.
Step 6: Stitch the cylinder with the wire twist
After filling the cylinder up, stitch it up with the wire twist to close the pole up. Begin at one end of the cylinder and gradually work your way up to the other end. Close up the cylinder by tying a couple of knots with the wire twist then cut any excess wire left. For each knot, you make, leave a couple of inches of wire before cutting it off. You may need to tighten the pole in the future as the moss degrades or the plant becomes heavier.
Step 7: Plant your pothos plant
When your moss pole is ready, insert it into an empty plant pot and pour in the soil mix. Plant your pothos plant and tie it gently to the moss pole you have made so the root can grow into the moss.
Conclusion
You can use either of these methods to make your own moss pole for your pothos plant. Note that this pole can be used for other climbing plants as well. Even if you don’t have a climbing plant, the moss pole can be used to pivot your Monstera plant or any other tall plant that are starting to droop in your garden. Feel free to use any other variations of these methods or experiment with other techniques depending on the materials you have readily available around you.