How To Drill A Hole In A Ceramic Pot


Pots for growing houseplants should have drainage holes in them. This helps to keep the soil from getting waterlogged and drowning the root in excess water. Ceramic containers can be used to hold flowers, herbs, and vegetables in indoor and outdoor gardens. They look good on the eyes and can further improve the aesthetics of your houseplant.
However, a common problem with ceramic pots is that they may not have a drainage hole in them and as a plant parent there's nothing worse than getting a beautiful ceramic pot but not being able to use it with your succulents because the pot doesn't have a drainage hole.
However, on a positive note - If you find a ceramic plant pot that you like but it does not have a drainage hole in the bottom, you can drill a hole into it on your own!
All you need is a power drill, perseverance and the right kind of drill bit to create a functional plant pot with good drainage. This blog is a detailed step-by-step guide on how to drill a hole in a ceramic pot on your own.
What You Need To Drill A Hole In The Ceramic Container
The following are some of the things you’ll need to drill a hole at the bottom of a ceramic container:
- The ceramic pot or container
- Drill bit (you can use a tile bit, glass bit, or a masonry drill bit).
- Power Drill
- Safety Glasses or Goggles
- Water (You want the interface between the pot and the drill bit to stay wet)
How To Make A Drainage Hole In A Ceramic Pot
Step 1: Get the materials you need
A tile drill bit or glass drill bit is the ideal type of bit for drilling holes in a ceramic pot since they’re designed to drill through ceramic materials. However, if either of these is unavailable, a masonry drill bit will work just great as well. Masonry bits are used to drill holes in stone, brick, and concrete materials.
Any regular power drill can be used with your bit. A hammer drill or corded drill is great, but even a small, battery-powered drill should work as well. You can get a bit and a drill at any local hardware store near you. They’re not expensive items. However, if you’ll only be using them once, we recommended borrowing from your friend or asking a neighbor for these things instead of buying a new one just to drill a hole in a pot.
Step 2: Set up your ceramic container
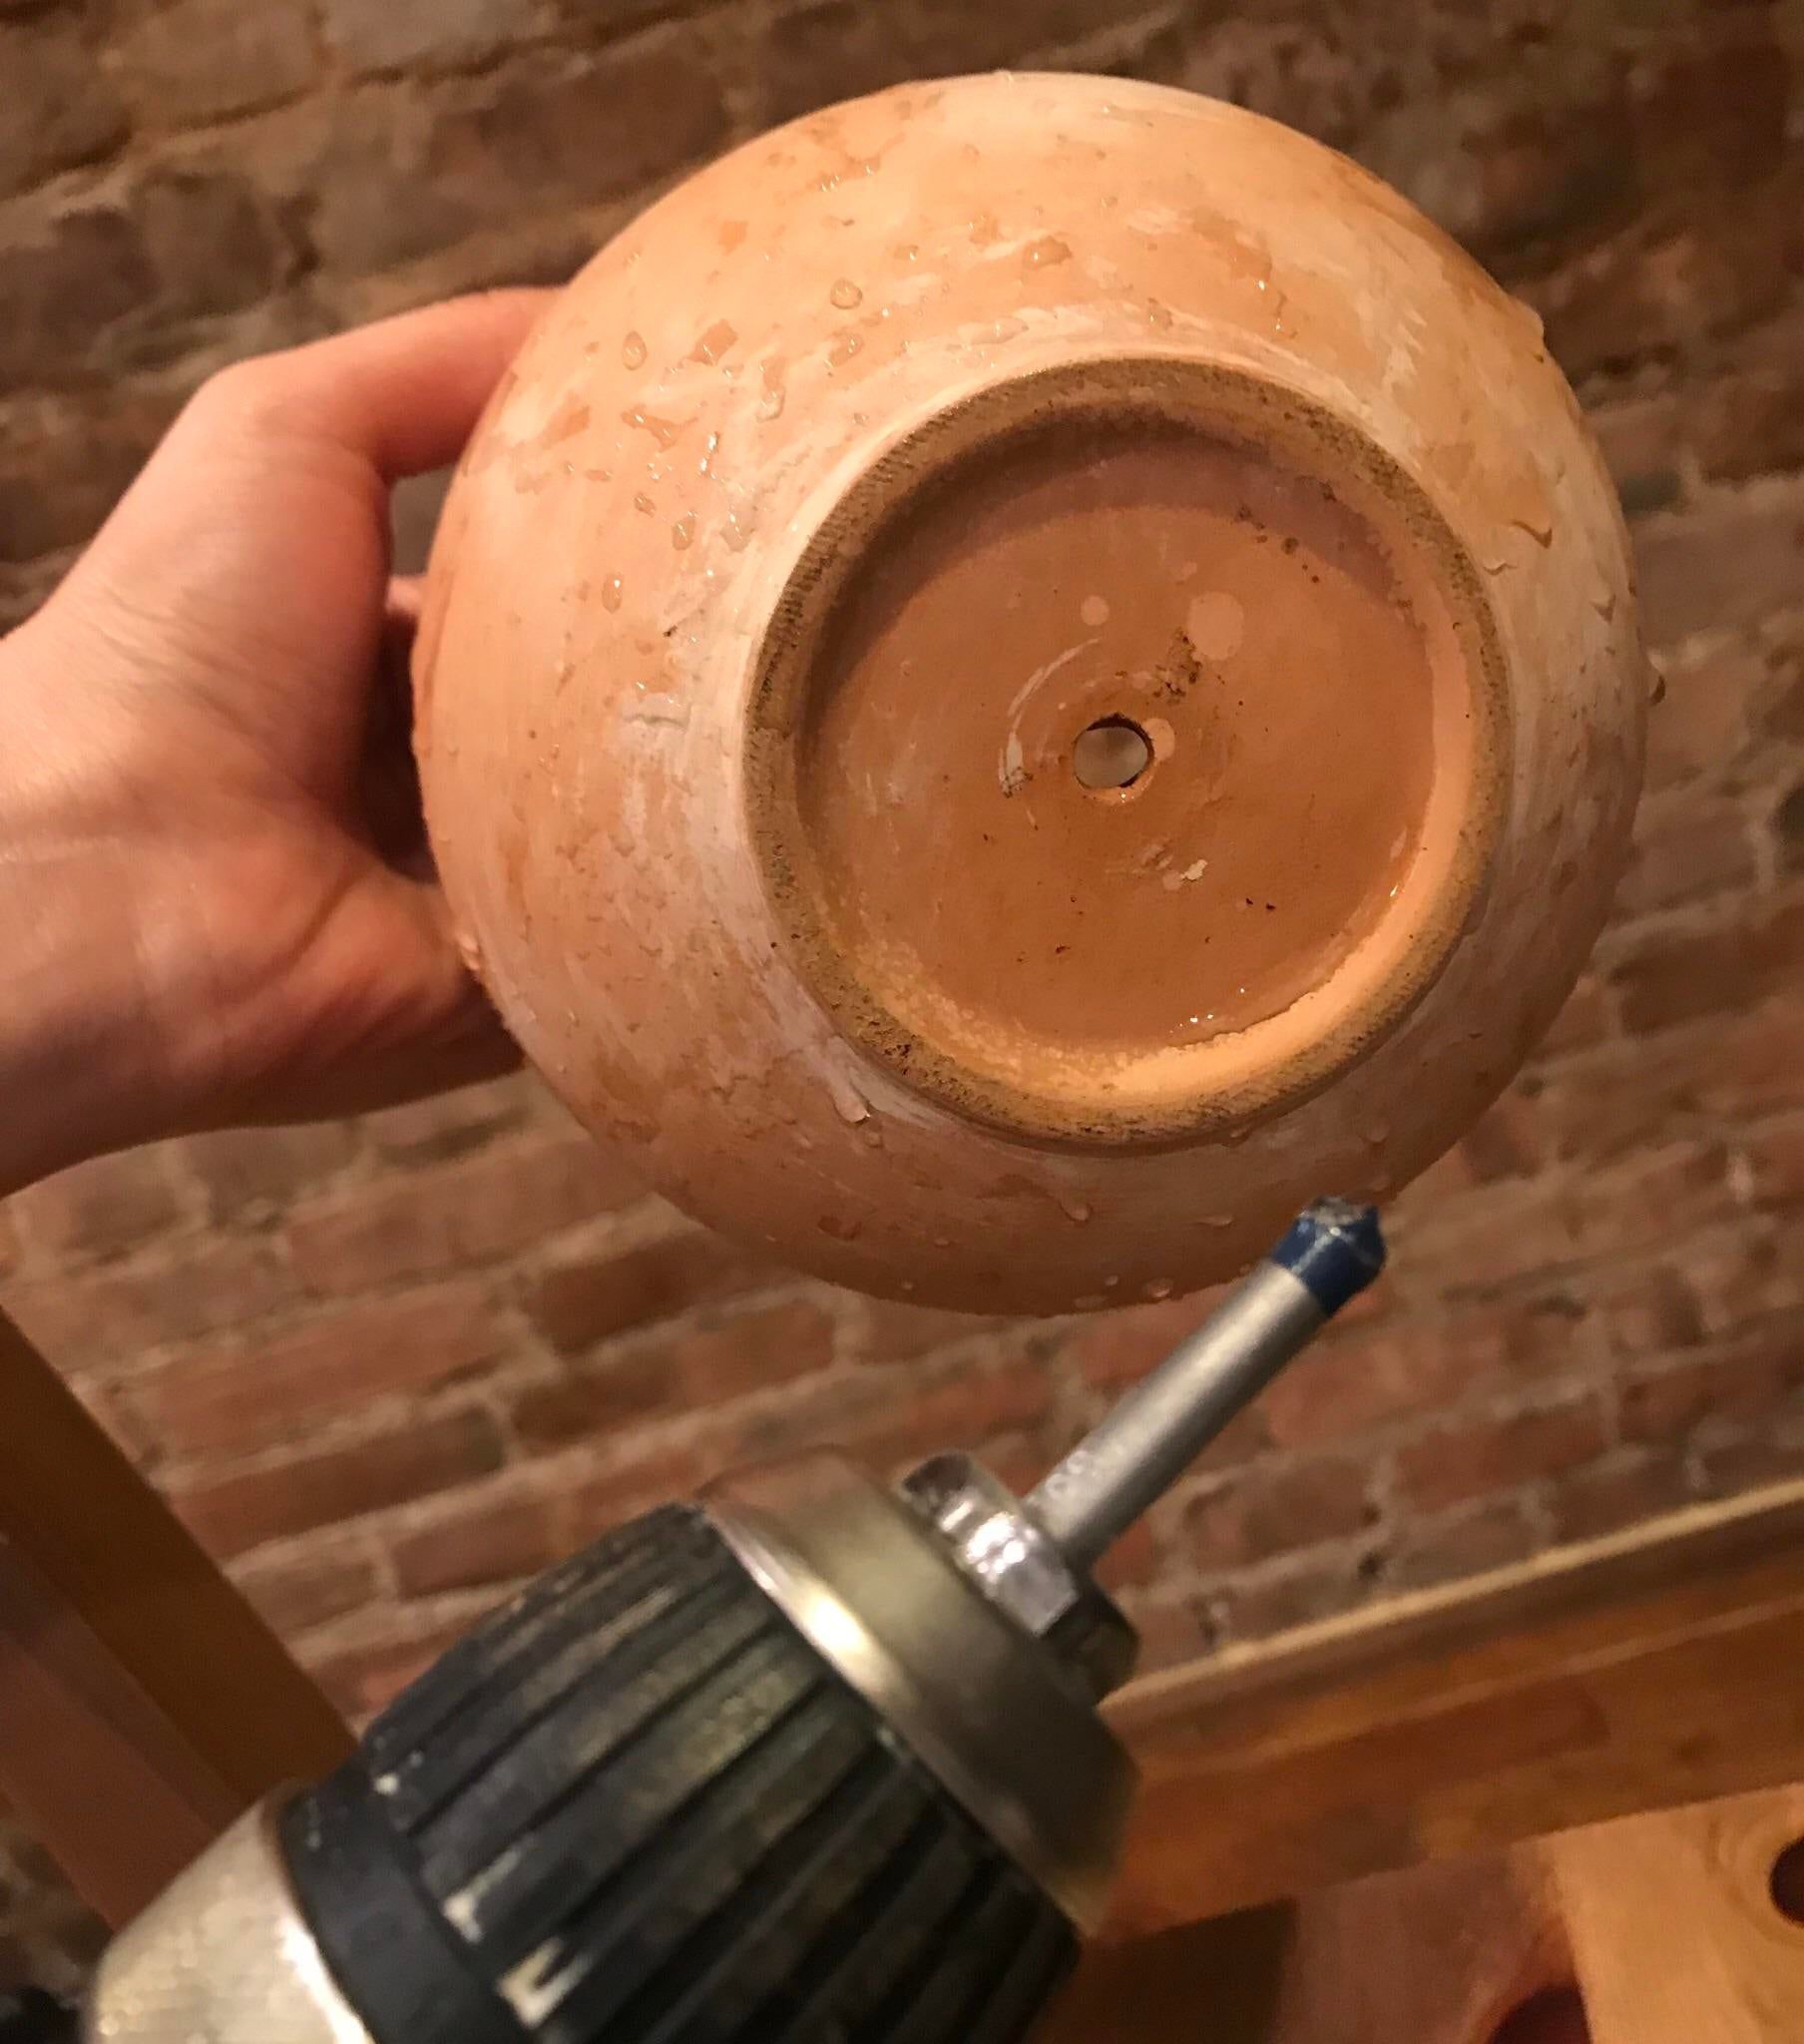
When you have all the items you need ready, set the ceramic pot down on a hard and flat surface such as a deck. You will be drilling the hole from the outside to the inside of the pot. This means you should set the container down with the base upside down. To protect the work surface, you can place a piece of cardboard paper under the pot before you set it down.
Decide on where you intend to place the hole on the bottom of the flower pot. For small to medium-sized pots, you’ll only need one hole. You may mark the spot you're targeting, but this is not really necessary. For larger pots, more than one hole might be necessary.
Step 3: Lubricate & Drill Hole in Ceramic Pot (Spray some Water)
Just before you start the Drill process. It's best practice to add some lubrication to preserve your drill bit & keep your pot from cracking. Put some water in a spray bottle and give the tip of the drill bit a few squirts before and during the drilling.
After the initial water squirt, you can now proceed to drill a hole in the pot. Generally, the type of ceramic pot you’re dealing with will determine the type of drilling bit you should use. Masonry bits work better for unglazed ceramic pots. Similarly, a tile or glass bit is better if you’re dealing with an unglazed pot.
You’ll also need a good drill with sufficient power to do the job properly. An electric drill would work great but a battery-powered one should be sufficient as long as it is thoroughly charged. After attaching the bit to the drill, put on your safety goggles to begin drilling. The goggles will help keep dust from getting into your eyes.
Drill slowly and steadily until the bit drills through the surface of the pot. Once the drill makes a dent on the surface, you can lighten the pressure and increase the speed of the drill until it makes the full drainage hole in the flower pot.
Patience is important when you’re drilling a hole in a ceramic pot. This has to be done properly to avoid leaving a crack in the pot. Once the hole has been drilled through the pot, you can gently pull back your drill. The whole process should take a few seconds to a few minutes depending on the power of the drill, the type of drill bit, and the thickness of the ceramic pot.
Most planters are good with just one hole. However, you can repeat the process if you need additional holes in the ceramic plant. Just make sure they’re far apart enough from each other to avoid damaging the entire base of the ceramic pot you’re drilling. When you’re done, wipe any dust on the pot and rinse it with water.
Can You Use A Regular Drill Bit To Drill A Hole In A Ceramic Pot?
Regular drill bits may work for other types of plant containers such as wooden containers or metals. But for ceramic pots, specialized bits such as glass bits or masonry bits are better. You may still be able to use a regular bit for an unglazed ceramic pot. But even this is not recommended. For a glazed ceramic pot, the surface is smooth, which makes it difficult for the bit to grab on and start drilling a hole.
Even if it does work, using a regular bit on a ceramic pot is likely to leave a crack in the pot and the hole will not be as smooth as what you’ll get with a tile bit. Of course, the aesthetic is not really a concern for a drainage hole in a plant pot.
Also, note that bits come in different sizes. If you want a bigger drainage hole, then you should go for a larger bit. Similarly, you’ll need smaller bits for smaller pots that only need a tiny hole.
Additional Tips To Keep In Mind
The size of the pot will determine the number of holes to drill into it. If the pot is over 8-inches in diameter, then it should have at least 2 holes in it to keep water from pooling on one side. If you’re drilling a single hole in the pot, put it at the center. For two holes or more, make each one about halfway between the edge and the center of the pot. Make sure the two holes aren’t too close to each other to avoid compromising the ceramic.
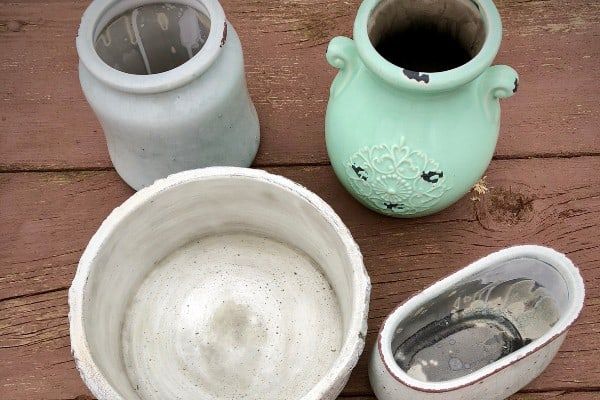
You can also pick up interesting old vases in charity shops and convert them to Plant pots by drilling holes in them!
Conclusion
Drilling drainage holes in your ceramic pot is a relatively easy process. You just need to have the right tools and know the basic steps to follow. At the end of the day, you’ll end up with happy and thriving plants thanks to this simple project.
I have included some youtube videos with additional tutorials because I know not everyone learns the same way.